Have you ever wanted to bake a dessert that looks fancy but is secretly super easy?
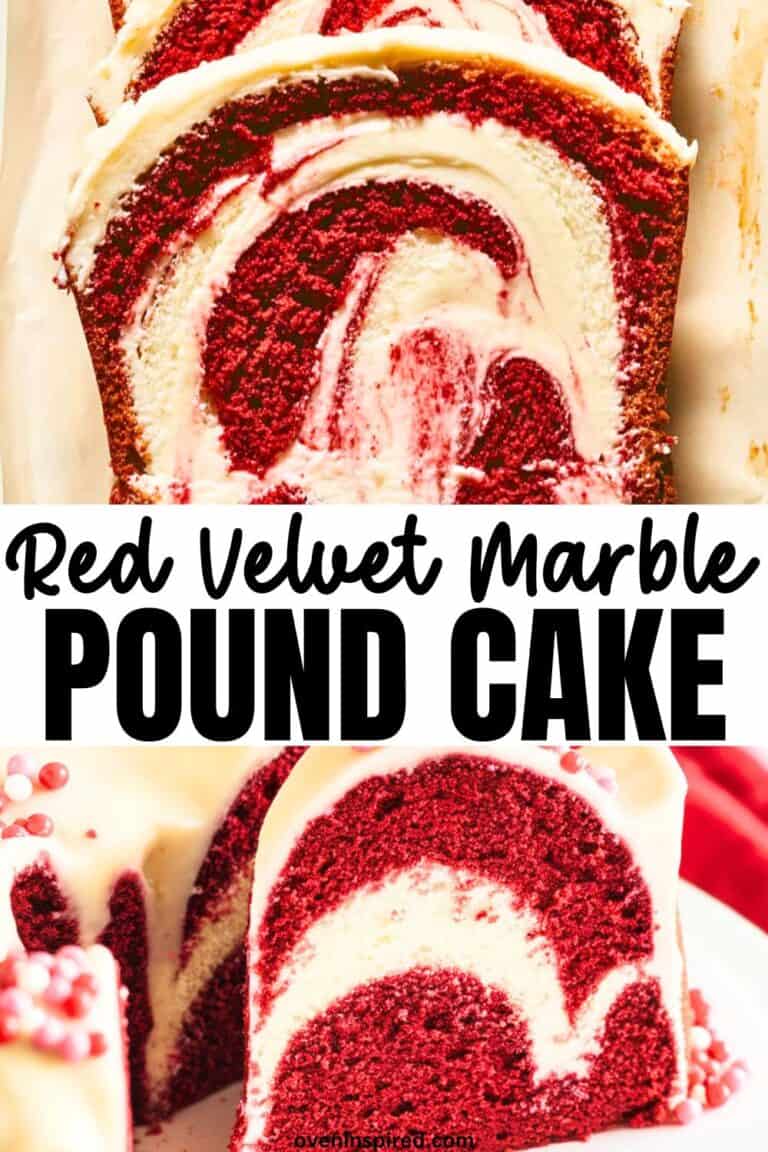
This red velvet marble pound cake is just the thing.
It’s a little bit decadent, a little bit fun, and a whole lot of delicious. It’s all about the rich swirls of red velvet that’s running through a buttery pound cake—each slice feels like a tiny celebration.
Don’t worry if you’re not a pro baker.
I’m not but this marble cake is a cinch to make and my children can’t get enough of this in their school lunches.
This recipe is simple to follow and perfect for sharing with family or friends (or keeping all to yourself, no judgment here).
I’ll guide you step by step so you can create something that looks bakery-level without any stress.
So grab your favorite mixing bowl, and let’s make dessert the highlight of your day!
Oh, and if you are in love with red velvet – like me – then make sure to check out my best recipes for red velvet cookies.
Red Velvet Marble Pound Cake – What You Need
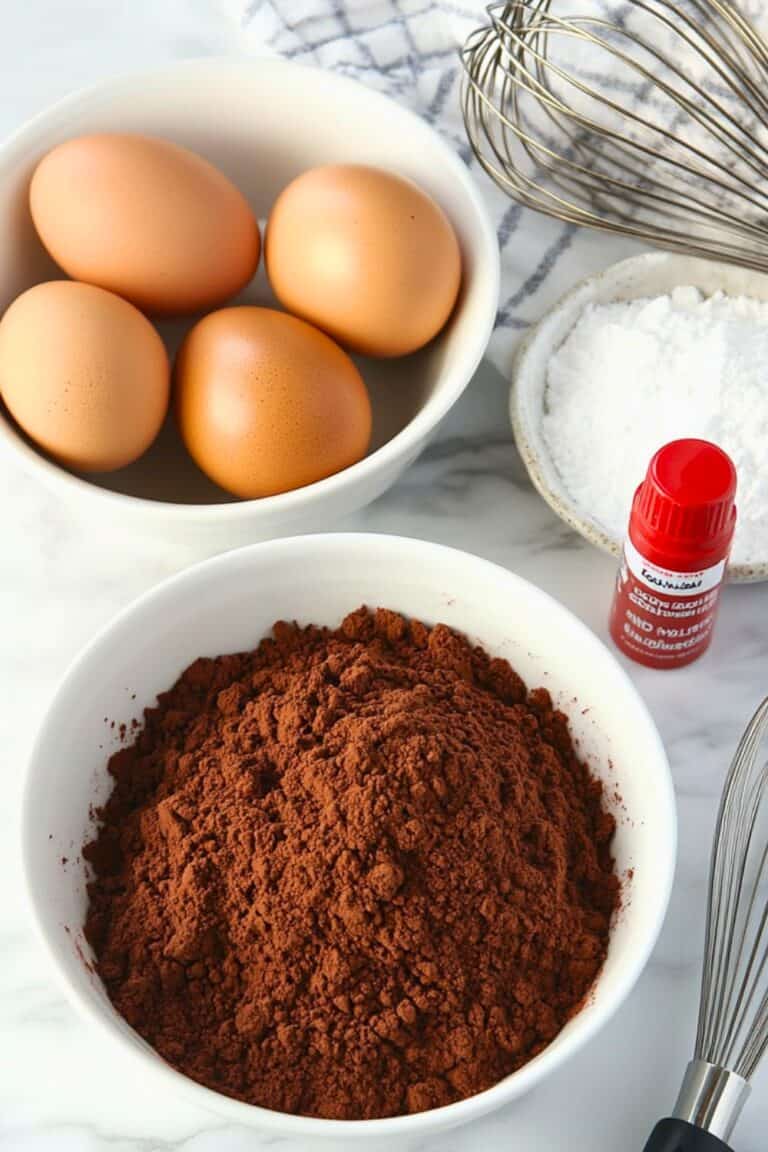
- All-purpose flour: The base of the cake, providing structure and a tender crumb.
- Baking powder: Helps the cake rise and keeps it light and fluffy.
- Salt: Enhances the flavors and balances the sweetness.
- Unsalted butter: Adds richness and that classic buttery flavor.
- Granulated sugar: Sweetens the cake and helps create a soft texture.
- Eggs: Bind the ingredients together and add moisture.
- Whole milk: Keeps the cake moist and adds a subtle creaminess.
- Vanilla extract: Brings warmth and a comforting flavor to the batter.
- Unsweetened cocoa powder: Gives the red velvet its chocolatey depth.
- Red food coloring: Creates the iconic red swirls for that striking marble effect.
- White vinegar: A secret ingredient that boosts the vibrant red color and tenderizes the batter.
How to Make Red Velvet Pound Cake
Creating this red velvet marble pound cake is easier than it looks!
The result? A stunning and delicious dessert that’s perfect for any occasion!
Mix the Dry Ingredients
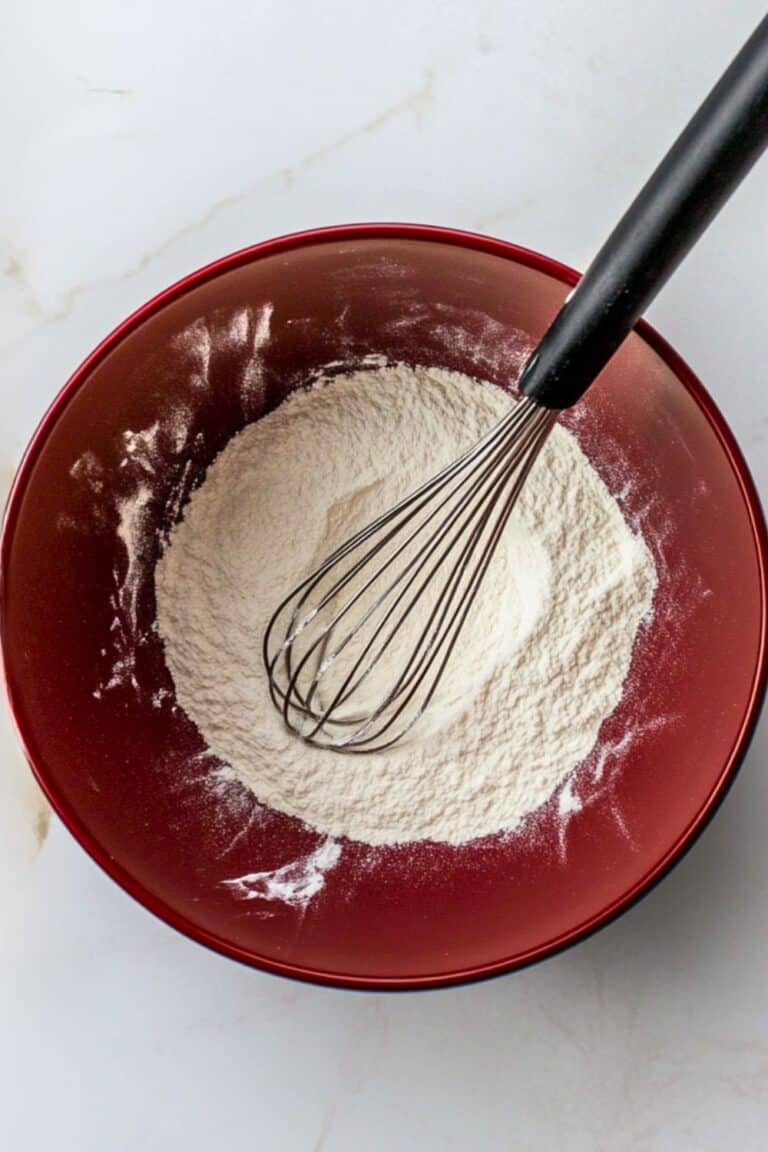
In a medium bowl, whisk together the flour, baking powder, and salt until well combined. This creates the foundation for the cake and ensures an even rise.
Cream the Butter and Sugar
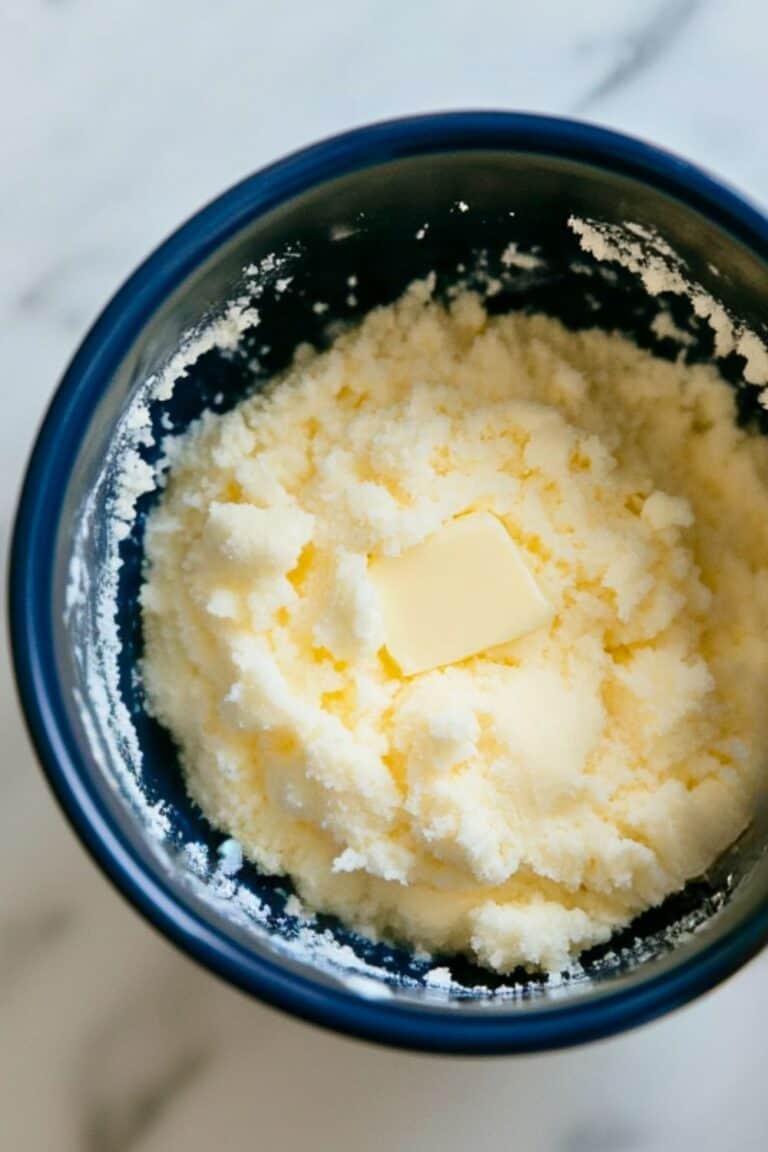
In a large bowl, beat the softened butter and granulated sugar together with a hand or stand mixer until the mixture is light and fluffy. This step adds air to the batter, giving the cake its soft texture.
Add the Eggs and Vanilla
Beat the eggs into the butter mixture one at a time, mixing well after each addition. Stir in the vanilla extract to add warmth and flavor to the batter.
Combine Wet and Dry Ingredients
Gradually add the dry ingredients to the butter mixture, alternating with milk, starting and ending with the dry ingredients. Mix gently to keep the batter light and smooth.
Prepare the Red Velvet Batter
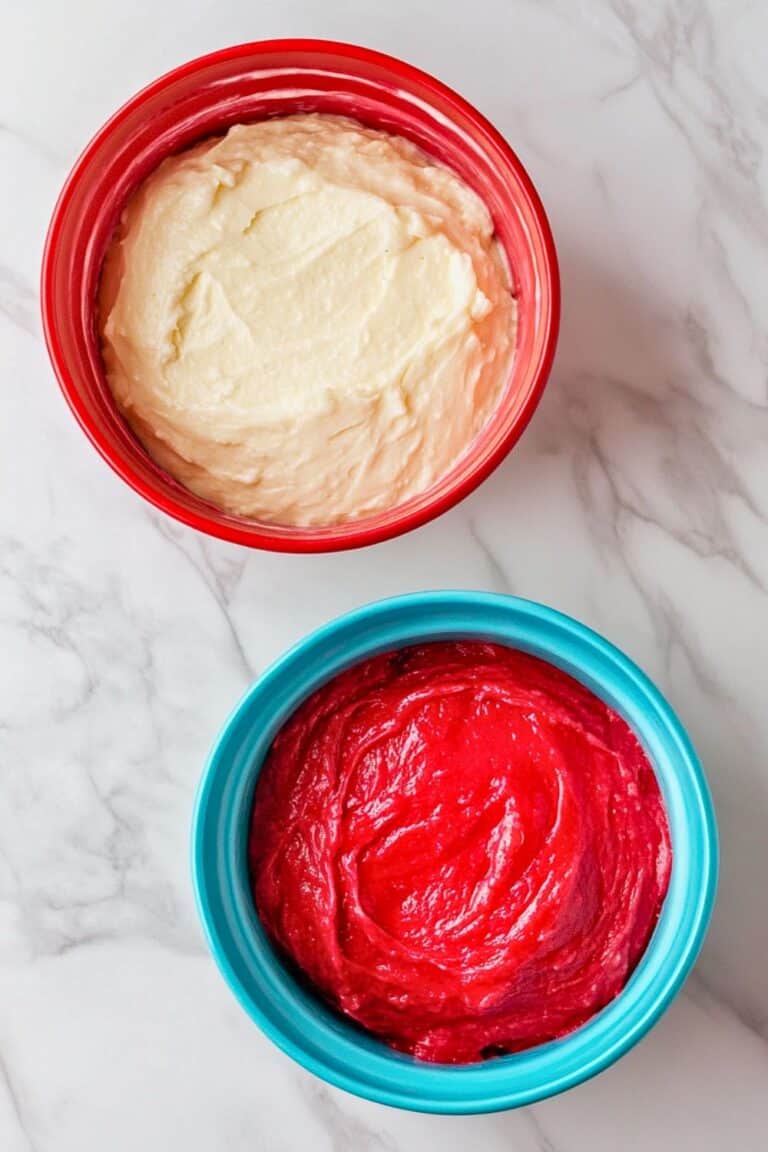
Scoop out 1 ½ cups of the prepared batter and place it in a separate bowl. Stir in the cocoa powder, red food coloring, and white vinegar until fully combined and vibrant.
Layer the Batters
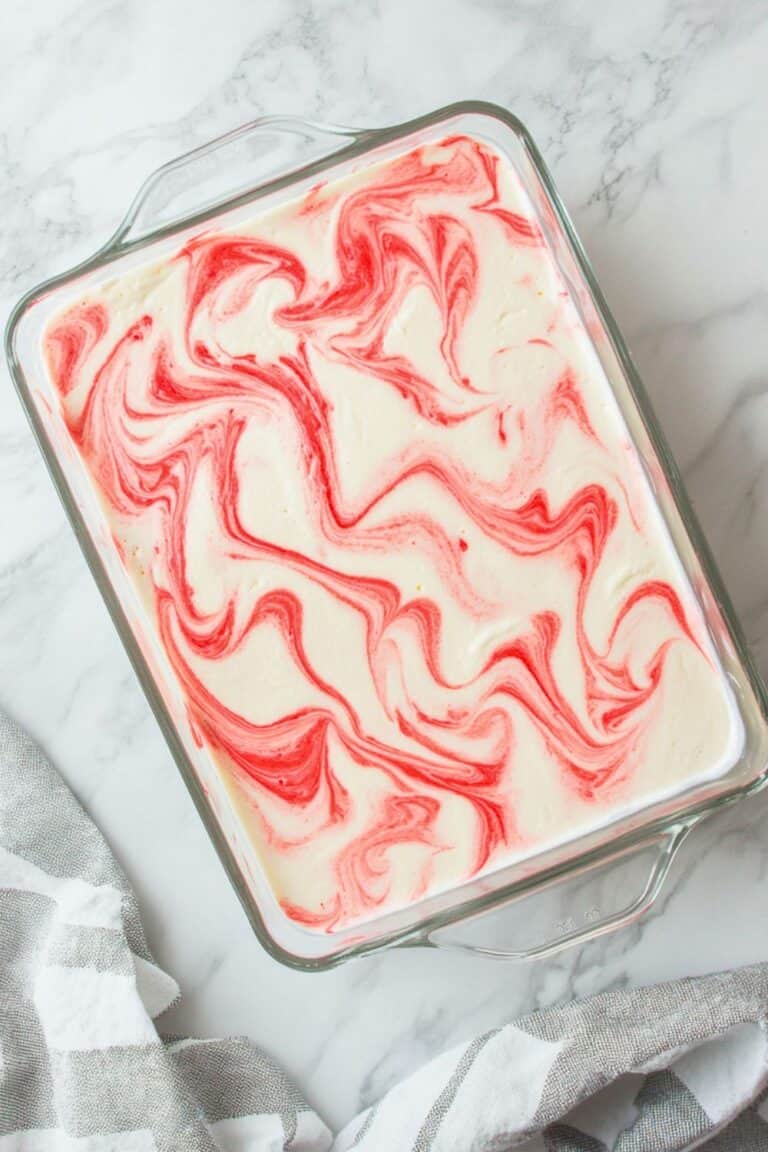
Pour half of the plain batter into the prepared loaf pan. Add spoonfuls of the red velvet batter, then top with the remaining plain batter. Use a knife or skewer to swirl the two batters together for a marbled effect.
Bake the Cake
Place the pan in the preheated oven and bake at 325°F (163°C) for 60-70 minutes, or until a toothpick inserted in the center comes out clean.
Cool and Serve
Allow the cake to cool in the pan for 15 minutes, then transfer it to a wire rack to cool completely. Slice and enjoy the beautiful swirls and delicious flavors!
The Easiest Red Velvet Marble Pound Cake Recipe
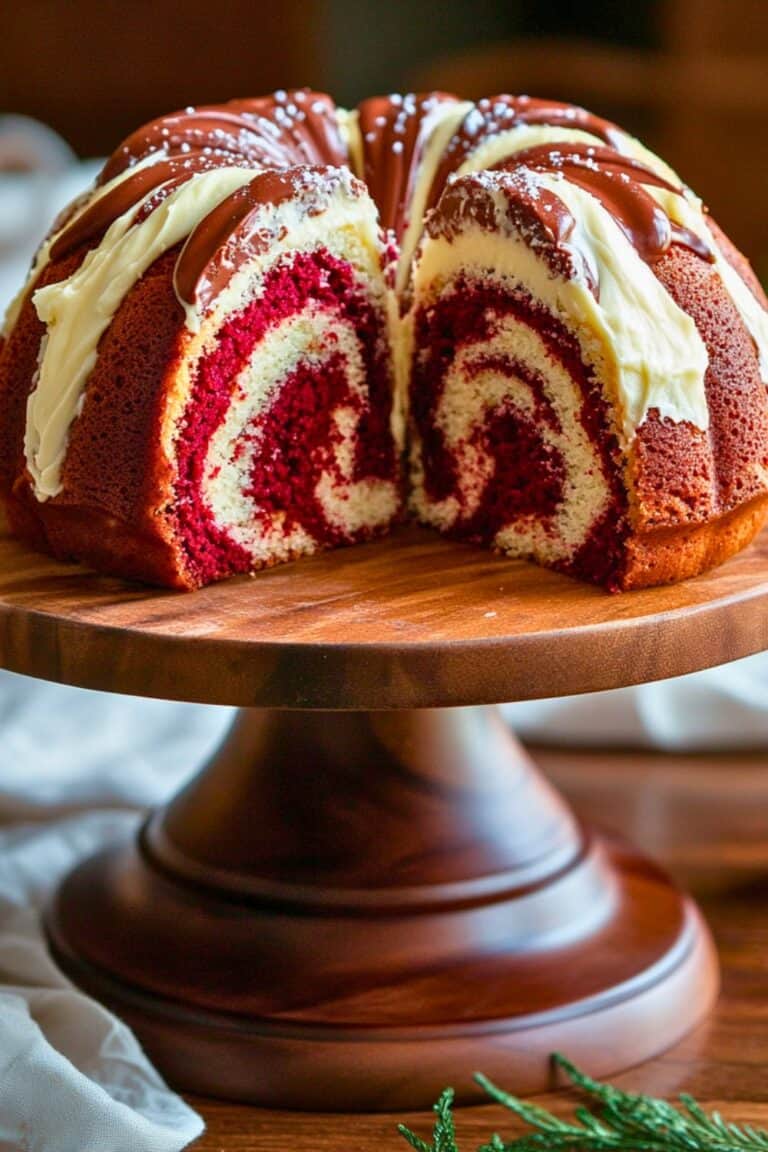
This red velvet marble pound cake is as delicious as it is beautiful!
The swirls of red velvet and buttery pound cake make every slice feel special.
Ingredients:
For the Pound Cake Batter:
- 2 ½ cups all-purpose flour
- 1 tsp baking powder
- ½ tsp salt
- 1 cup unsalted butter, softened
- 2 cups granulated sugar
- 4 large eggs
- 1 cup whole milk
- 2 tsp vanilla extract
For the Red Velvet Batter:
- 1 ½ cups of the prepared pound cake batter (set aside from above)
- 2 tbsp unsweetened cocoa powder
- 1 tbsp red food coloring
- 1 tsp white vinegar
Instructions:
- Prep your oven and pan.
Preheat your oven to 325°F (163°C) and grease a 9×5-inch loaf pan with butter or nonstick spray. Line with parchment paper for easy removal. - Mix the dry ingredients.
In a medium bowl, whisk together the flour, baking powder, and salt. Set aside. - Cream the butter and sugar.
In a large bowl, beat the butter and sugar together until light and fluffy, about 3-4 minutes. Add the eggs, one at a time, mixing well after each addition. - Combine wet and dry ingredients.
Gradually add the flour mixture to the butter mixture, alternating with milk, starting and ending with the flour. Stir in the vanilla extract. - Prepare the red velvet batter.
Scoop out 1 ½ cups of the pound cake batter and place it in a separate bowl. Mix in the cocoa powder, red food coloring, and vinegar until smooth. - Layer the batters.
Pour half of the plain pound cake batter into the prepared loaf pan. Drop spoonfuls of the red velvet batter on top, then add the remaining plain batter. Use a knife or skewer to swirl the batters together for a marbled effect. - Bake to perfection.
Bake for 60-70 minutes or until a toothpick inserted into the center comes out clean. Let the cake cool in the pan for 15 minutes, then transfer to a wire rack to cool completely. - Slice and enjoy!
Once cooled, slice your cake and marvel at the gorgeous swirls. Serve with a dusting of powdered sugar or a dollop of whipped cream if you’re feeling fancy!
There you have it—a red velvet marble pound cake that’s as easy to make as it is to enjoy.
Perfect for sharing, gifting, or just treating yourself!
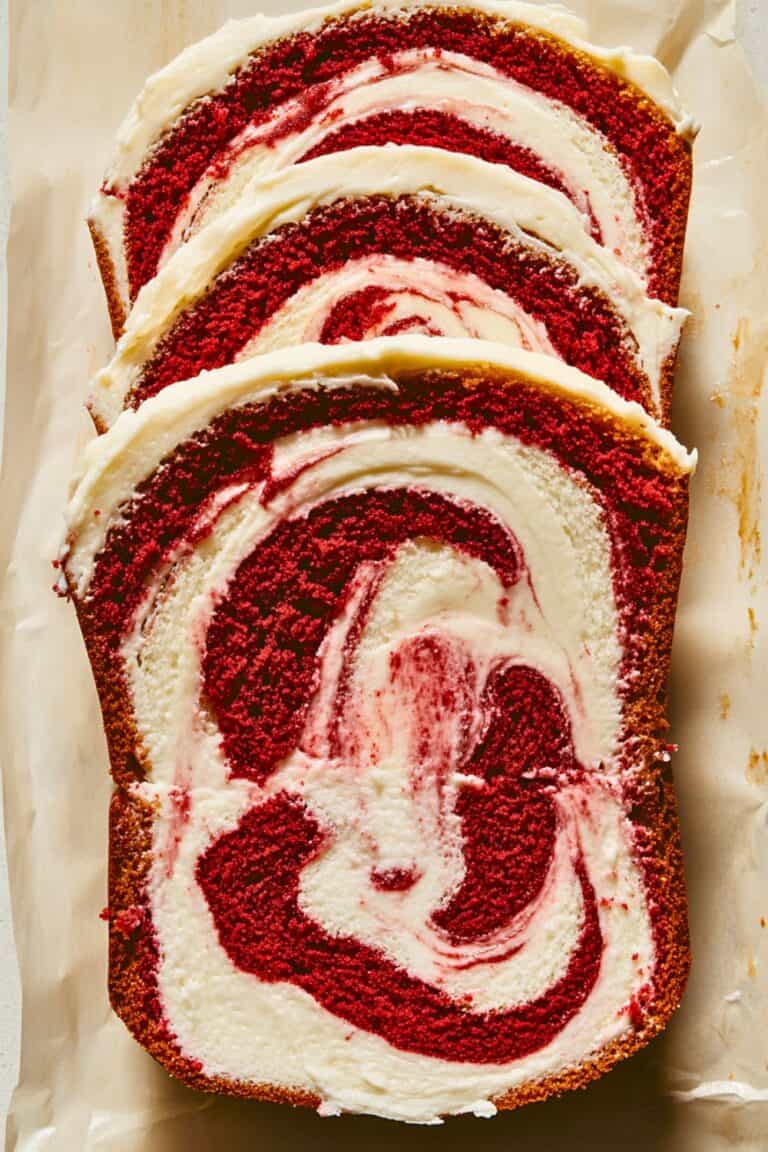
Slice Into Sweet Success!
This red velvet marble pound cake is proof that stunning desserts don’t have to be complicated.
With its rich swirls and buttery flavor, it’s the perfect treat for everything from casual family dinners to special celebrations.
Grab your favorite coffee or tea, slice into this beauty, and savor every bite—you’ve earned it!
